Google+
Showing posts with label back to school. Show all posts

Monday, 28 October 2013

How To | Top Knot

Today I'm going to show you how I create a top knot. I love wearing this on those days whee your running late, or just having a bad hair day. Now I have thin hair and most people struggle to make a top knot with thin hair, but I have a little trick I'm going to share with you.


First I put my hair in a high pony tail, this makes it easier for later. Try using a clear elastic or a hairband that a similar colour to your hair, we don't want to be able to see the band. I find the easiest way to get my hair in a high pony tail is to flip my hair upside down, gather my hair together and the flip it back to secure.


Here's my secret if you have thin hair. back comb your hair but don't be gentle really go for it until your hair looks like a complete mess (don't worry, it'll look fine in the end). Back combing your hair make each layer thicker, adding volume to it in seconds. To keep it in place add a firming hairspray over a volumising hairspray as these hold better and for a longer period of time.


Now you should have a super backcombed ponytail. Now gather this up and I like to secure  it all with a medium sized crocodile clip. But you can use any sort of clip that you find holds your hair best. I sometimes use bobby pins when my hair is feeling extra film but the backcombing sadly doesn't last all day. So a crocodile clip allows me to volumise it throughout the day, buy raising the clip every now and then. 


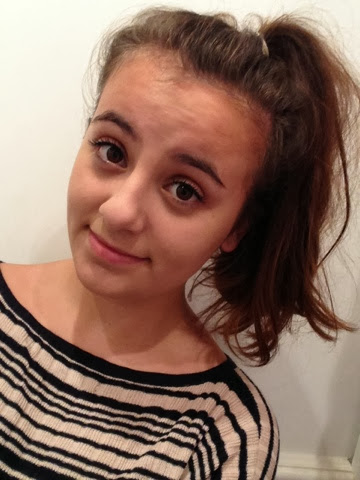
Finally you can now mess around with it, until your happy with how it looks I sometimes like to clip my fringe to the side with it, or pull a few sections out to frame my face. And you should be done.


This look takes a maximum of 5 mins and is perfect for something that looks like you've spent ages on it and it doesn't. I got a lot of compliments when I first wore it and I love the look of it.

Let me know if this was helpful or if you'd wear this and let me know if you'd try to do this hairstyle in the comments or on show me your recreation of it on Instagram with the #Alarah 

Sarah
X

Sunday, 13 October 2013

6 Non Heat Hairstyle Ideas


1 | half up-do 
To do this hairstyle you'll need 2 or more booby pins depending on how thick your hair is, and you'll part you hair into two sections then place these on your shoulders. Call one side A and B (it doesn't matter which is which) then split side A into two section (one on top of another) and clip the top section to the back of your head and leave the bottom section down, then repeat on side B.

2 | high ponytail
This hair style is pretty self explanatory  to do this you'll need one thick hairband. Tip your head upside down so your hair falls to the floor, then collect all your hair, and take it to the top of your head, then flip your head back the right side up, and secure it with a hairband or elastic. Now you can mess around with your hair to get it to how you like it, by possible loosening the band or pulling bits of hair out to shape your face.

3 | half in half out
For this hairstyle it is the exact same as the high ponytail, but your when your head is upside down don't collect all of your hair, instead only collect the top half then flip your head back right side up and make sure it looks neat, try to split your hair from the top section and bottom evenly with no tangles or fly always crossing each other this could cause the hair band/elastic to get caught in your hair (no one wants that!) then just secure and again here you can mess around to get your hair how you like it.

4 | waterfall braid
This hairstyle is probably the most difficult to do and explain, it's easier to do if you know how to do a French braid, if you can then start doing a french braid but you leave a strand down each time, here's how to do it in more depth: http://m.wikihow.com/Make-a-Cascade-Waterfall-Braid

5 | plaited headband
This hairstyle only works if the length of your hair is past shoulder length, it's simple to do and still really effective, what you want to do is to a ordinary plait at the back of your hair all the way down, but don't tie it off! you'll want to then put this over the top of your head and secure it down with bobby pins, then do another plait at the back of the other side of your hair, and when finished secure it down over the top of the first plait we did, this should leave you with a plaited headband

6 | fishtail plait
Finally the fishtail braid which again is difficult to explain, your going to want to take all your hair over to one side, by one of your shoulders then split this into two, I'll call these A and B, and take a small section from A and take it over to B then take a small section from B and take it to A and keep going until you reach the end of your hair, for a explanation in more depth go to: http://www.sofeminine.co.uk/hair/how-to-do-a-fishtail-plait-som2083.html
  
Sarah 
x
Related Posts Plugin for WordPress, Blogger...